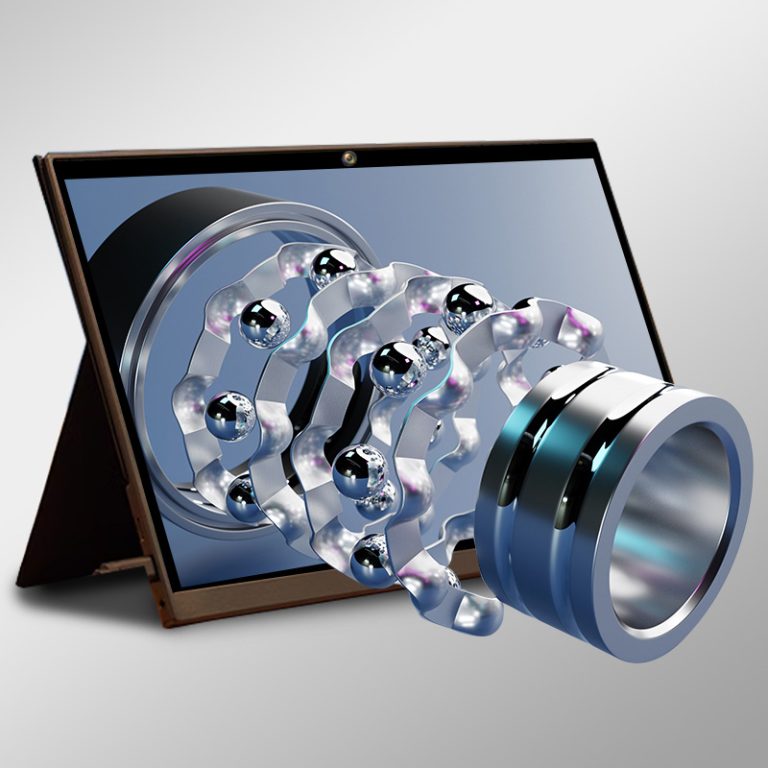
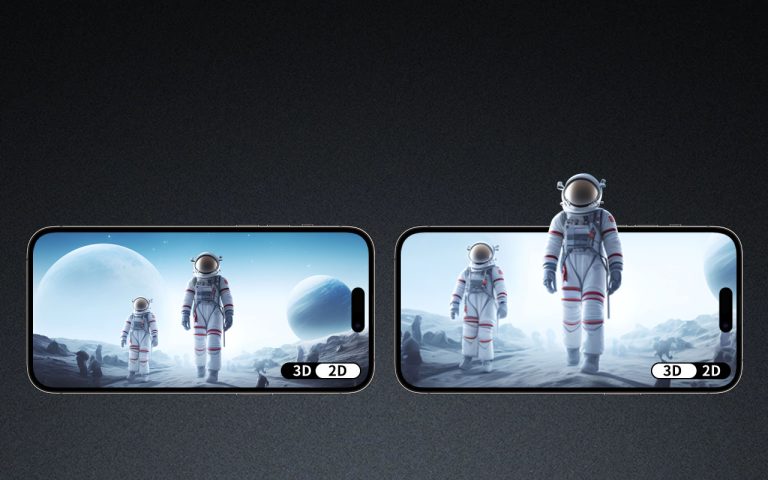
Creating a hologram involves using light interference and diffraction to produce a realistic three-dimensional image that can be viewed from multiple angles. This technology has applications in various fields, from entertainment to scientific research. This article will explore the process and techniques involved in creating holograms, from the basic principles of light interaction to the equipment and software used in the process.
Basic Principles of How to Create Hologram
1. The Role of Light in Creating Holograms
Understanding the principles of light waves is essential for creating a hologram. A hologram is produced by recording the interference pattern between two beams of light. The first beam, called the object beam, illuminates the subject of the hologram, while the second beam, the reference beam, is directed at the recording surface from a different angle. The interference between these two beams creates a light pattern captured on a photographic plate or digital sensor.
The interference pattern captures both the intensity and phase of the light, allowing the hologram to display the object’s three-dimensional characteristics. When the reference beam illuminates the hologram again, the light is diffracted to reconstruct the original light waves, creating the illusion of depth and dimensionality.
2. Types of Holograms
Different types of holograms can be created, each with its specific method of recording and displaying the 3D image. The two primary types are:
Transmission Holograms: These holograms are viewed by shining light through them, allowing the viewer to see the image as if it were floating in space. This type is often used for scientific applications, such as in optical storage or microscopy.
Reflection Holograms: These holograms reflect light from their surface and can be viewed from different angles. They are commonly used in art, security applications, and even in the entertainment industry.

Step-by-Step Process to Create Hologram
1. Setting Up the Equipment
To create a hologram, you need specific equipment to capture and project the interference pattern. The most common tools include:
Laser: A coherent light source is required for holography. A laser beam is used because it provides the necessary coherence and monochromaticity to produce sharp, clear holograms.
Beam Splitter: This device splits the laser beam into two parts: the object and reference beams.
Optical Table: A vibration-free surface is necessary to prevent any disruptions during the exposure process, which can lead to blurry or incomplete holograms.
Recording Medium: This is typically a photographic plate or digital sensor. In modern applications, digital holography uses sensors to record interference patterns, but traditional methods still rely on photographic film or plates.
2. Capturing the Hologram
Once the equipment is set up, the next step is to position the object and align the light beams. The object should be illuminated with the object beam, while the reference beam should be directed at the recording medium at a specific angle. The light waves from the object and reference beam will interact and create the interference pattern that is recorded on the medium. The exposure time can range from a few seconds to several minutes, depending on the intensity of the laser and the sensitivity of the recording material.
3. Developing the Hologram
After the exposure, the recording medium needs to be developed. If using traditional photographic plates, the plate is chemically processed in a darkroom. In digital holography, the recorded data is transferred to a computer for further processing and display. The development process reveals the interference pattern captured by the medium, which can then be illuminated to reconstruct the 3D image.
Enhancing Your Hologram
1. Using Digital Techniques to Create Holograms
With advancements in technology, digital holography has become a popular method for creating holograms. Digital holography involves capturing the interference pattern using a digital camera or sensor and processing the data with specialized software. This method is faster, more versatile, and allows for the manipulation of holograms in post-production. It is particularly useful in applications such as augmented reality (AR) or 3D visualization.
2. Hologram Displays and Projects
Once the hologram is created, displaying it can be done using various techniques. For example, holographic displays project the 3D image into space using light diffraction, allowing the image to be viewed from different angles. Another popular technique is the use of holographic projectors, which project the 3D images onto a surface, creating the illusion of a floating object.
In some cases, holographic displays are integrated into interactive systems, allowing users to manipulate the hologram in real-time. This is commonly seen in entertainment and advertising, where holographic projections are used for performances or as an innovative marketing tool.
Conclusion
To create a hologram, understanding the principles of light interference and diffraction is key. The process involves careful setup of the equipment, capturing the interference pattern, and processing the image to produce a 3D representation. As technology advances, digital holography offers more flexibility and opportunities for innovation in various fields, including entertainment, science, and medicine. Whether you are an artist, scientist, or entrepreneur, learning how to create a hologram can open new avenues for visual communication and interactive displays.


